🛠️ How to perform an advanced ID check
Using Firmcheck's biometric tool
1️⃣: Go to your client’s profile.
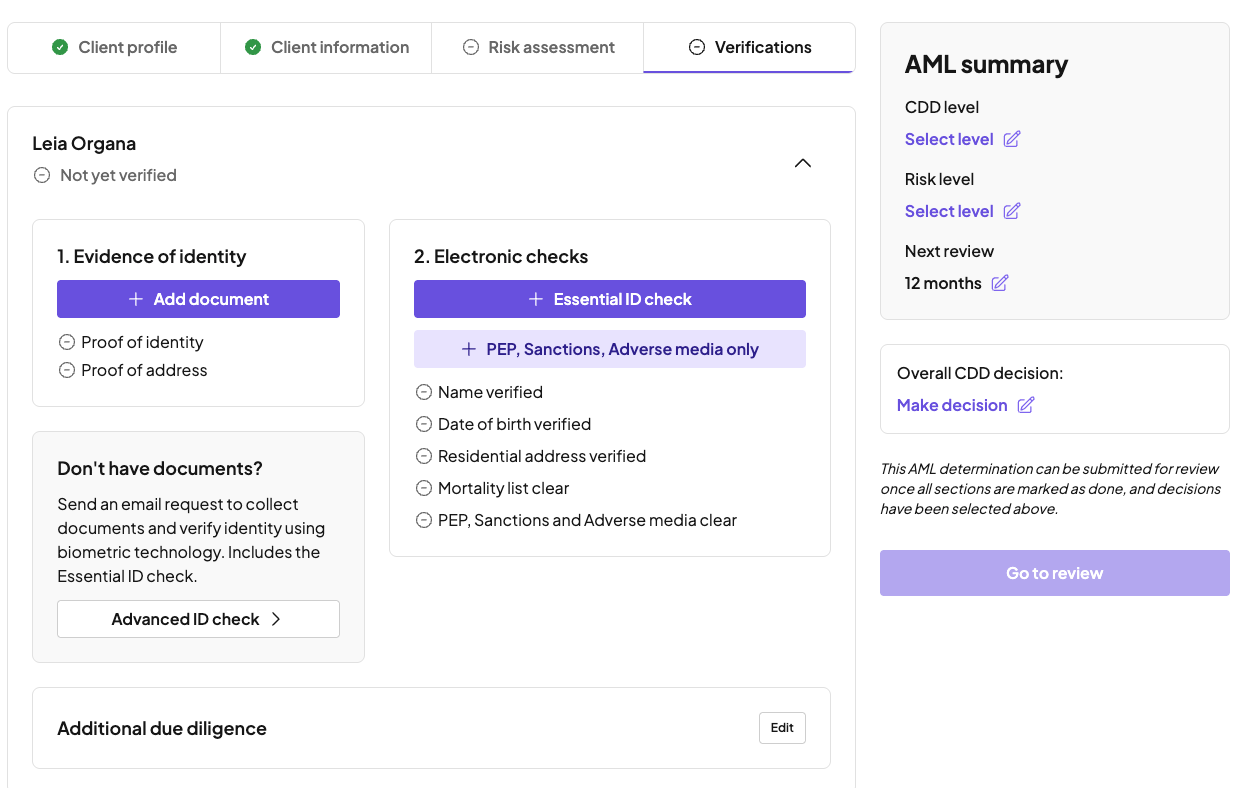
2️⃣: Click on the Verifications tab.
3️⃣: In the bottom right of the screen, select Advanced ID Check.
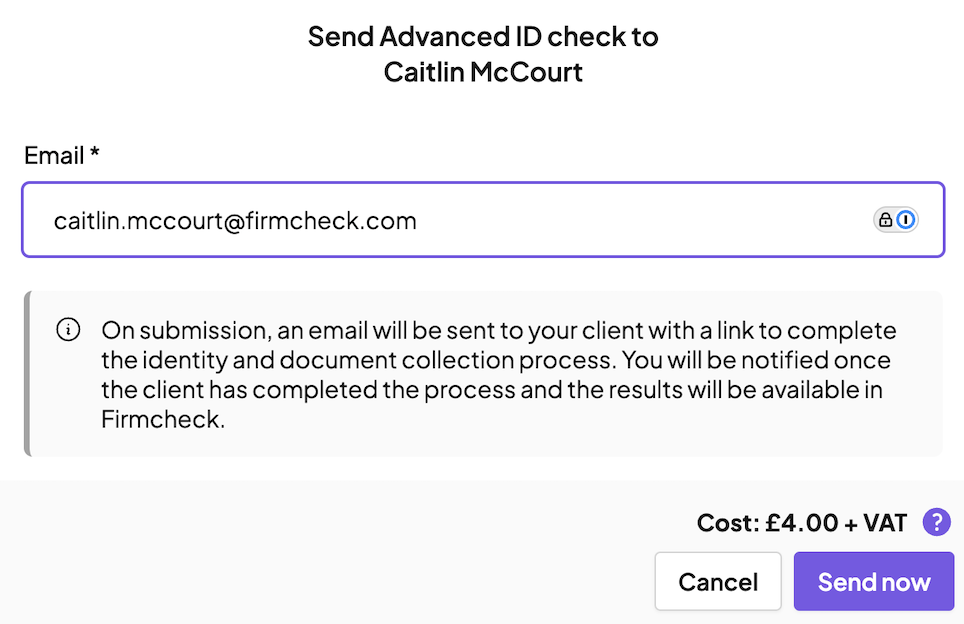
4️⃣: Once you click Advanced ID Check, a pop-up will appear asking you to confirm your client’s email address.
5️⃣: Make sure the email is correct; this is where the secure check link will be sent.
6️⃣: Each client must have a unique email address to receive an advanced check.
If everything looks good, just click Send now.
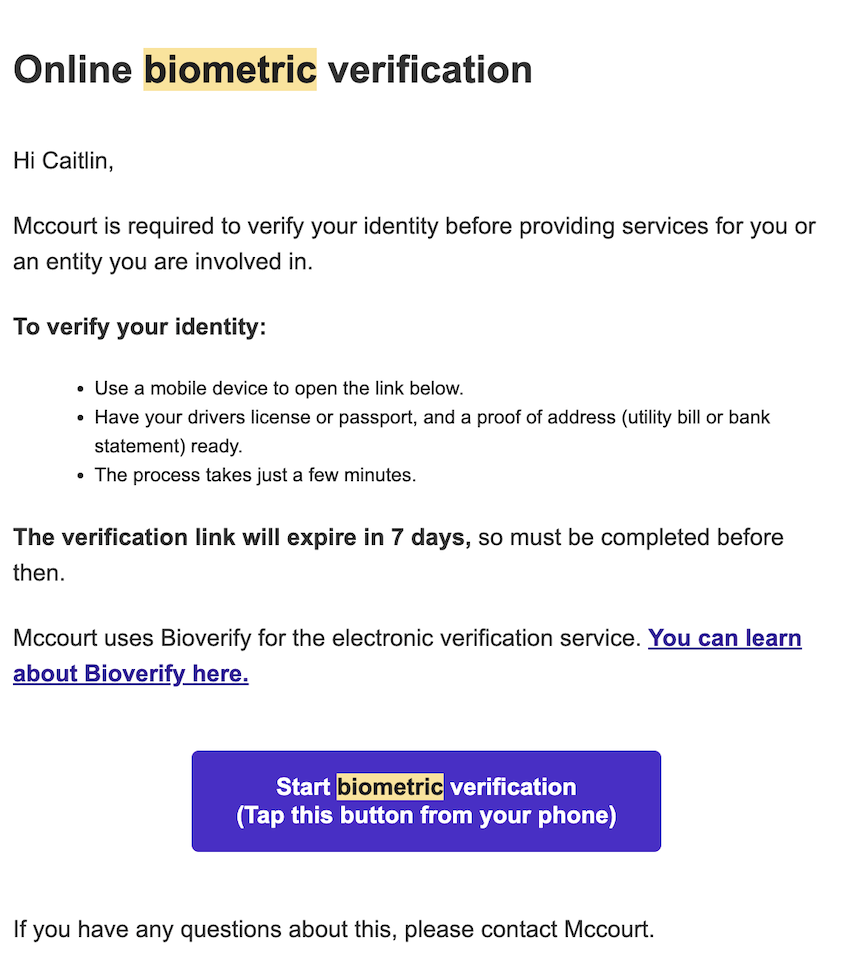
Your client will receive an email like the one shown below ⬇️
It explains what documents they’ll need and what type of device they can use to complete the check, such as a smartphone or computer with a camera.
The email guides them step by step through the process, making it easy for them to complete the check securely.
How your client completes the biometric check
Your client will need to complete the check using a mobile phone or another device with a camera. This is essential so the system can capture a clear facial scan for the biometric match.
The email they receive includes a unique link that takes them to a secure landing page to begin the process.
To complete the check, your client will need:
A valid passport or driver’s licence
A proof of address (such as a utility bill or bank statement)
The process is guided and takes just a few minutes to complete.
‼️ Having trouble with the biometric check?
If your client is finding the process tricky, it’s often because they haven’t granted bioverify.app access to their camera.
Start by asking your client to check their browser or device settings to make sure camera access is enabled for bioverify.app.
If the issue continues, feel free to reach out to us at [email protected] and we’ll be happy to help.
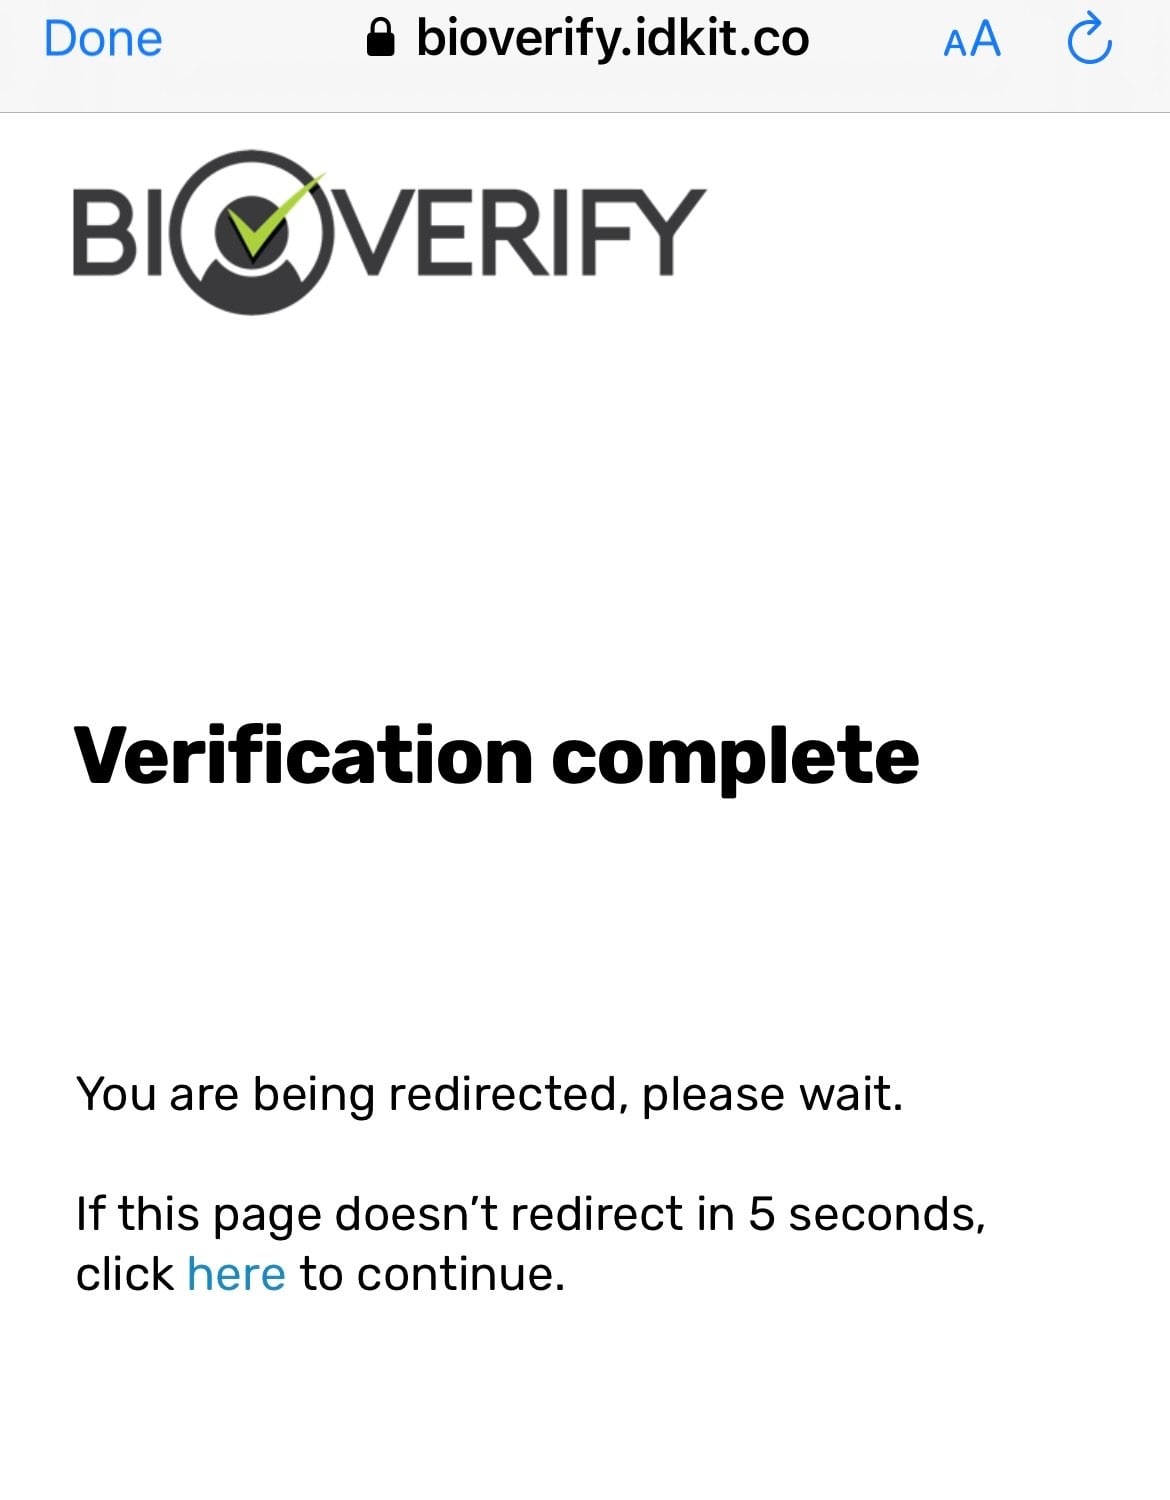
Once your client has completed the guided steps, they’ll see a confirmation screen letting them know the check is complete.
A copy of the completed check will also be sent to you automatically for your records.
How to review the completed check
Once your client has confirmed they’ve completed the biometric verification or you see it marked as complete in Firmcheck, go to the Verifications tab in their profile.
There, you’ll see a summary of the completed check, similar to the example shown below.
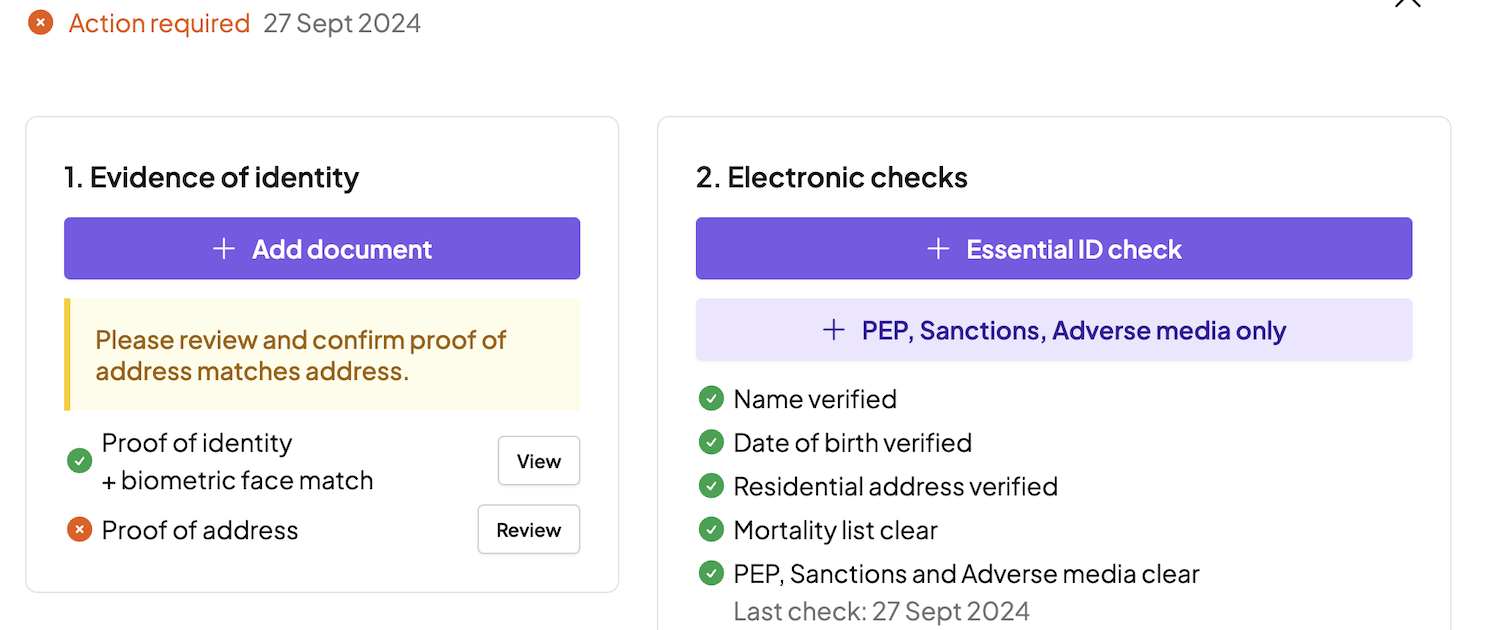
1️⃣: To view the submitted ID and biometric verification, click “View” under Evidence of Identity (as shown in the screenshot above). This will open the full details of the completed check.
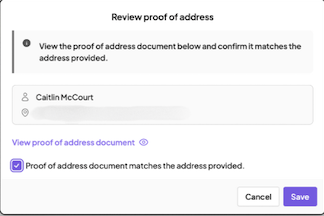
2️⃣: To review your client’s proof of address, click “Review” next to Proof of Address.
You’ll be taken to a page like the one shown below, where you can:
Confirm the address details
View the uploaded proof of address document
3️⃣: Once you've verified everything, click Save to confirm the check is complete.
‼️ Sometimes a biometric check may fail. Common reasons include:
The client’s facial likeness doesn’t match their photo ID
Their address couldn’t be verified
If this happens, you’ll need to manually review the documents and decide whether to override the result. For example, if the physical likeness does appear to match their ID, you may choose to accept the check.
AML verification often requires human judgment, so it’s up to you to decide whether to:
Accept the check based on your review
Or re-run the check if the issue can’t be confidently resolved (e.g. when facial recognition doesn’t match)
Once you're confident the verification process is complete, you can update the status in the Verifications tab.
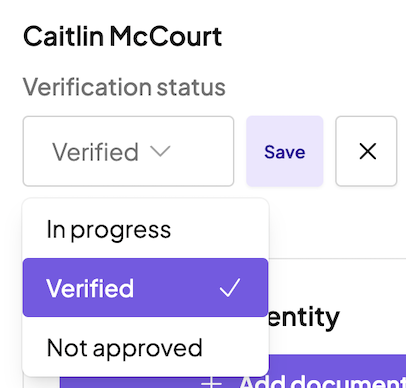
Just select the appropriate status from the dropdown menu, click Save, and a date stamp will appear to confirm the update.